How to Make Jewels, Gems, Crystals, and Pendants
How to Make Your Own Jewelry, Gems, and Crystals with Casting Resin
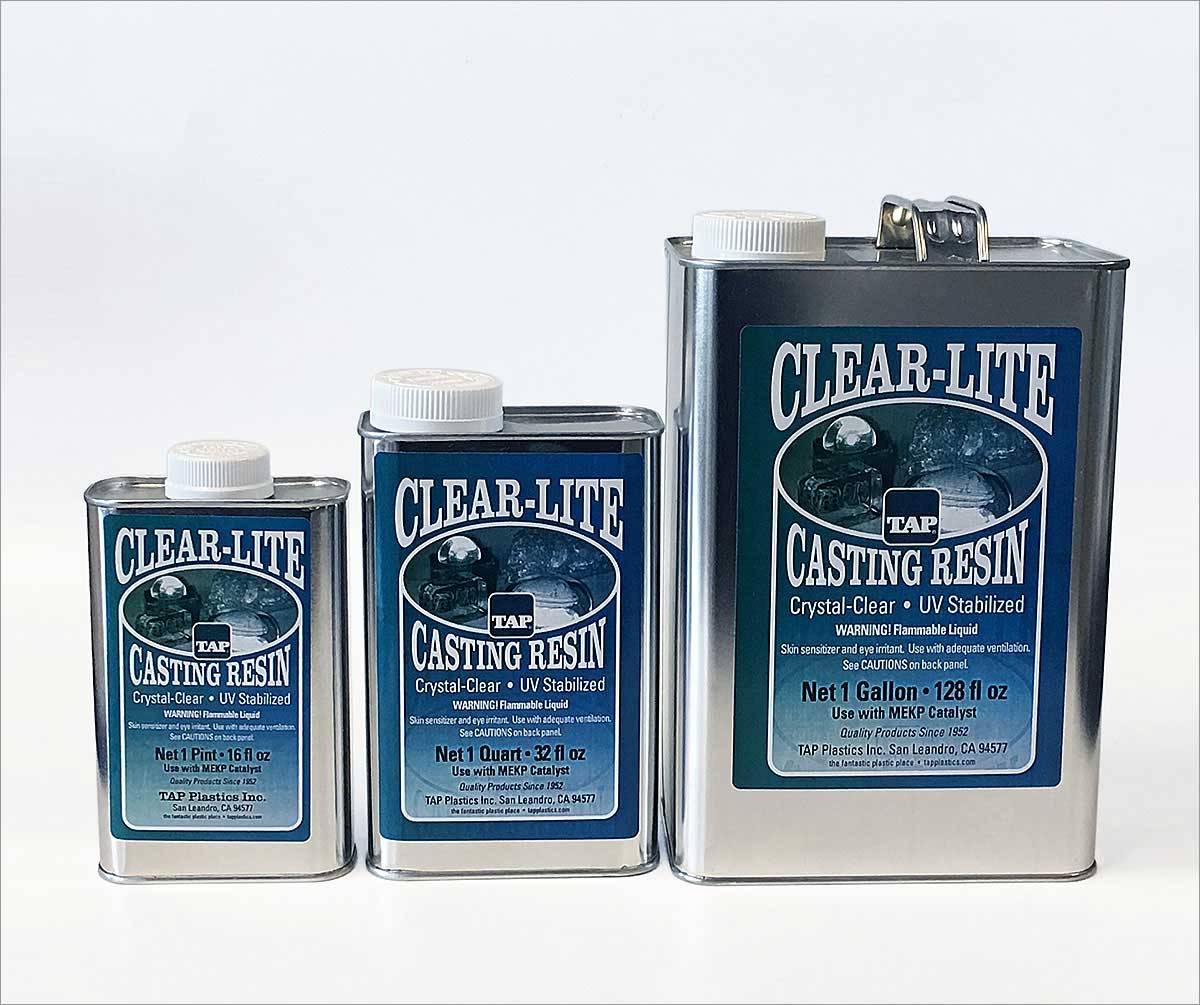
Creating your own custom jewels, gems, crystals, and pendants is easy and cost-effective using TAP Platinum Silicone and TAP Clear-Lite Casting Resin. With just a few simple steps, you can craft unique, high-quality resin pieces for a fraction of the cost of store-bought alternatives. Here’s how you can do it:
Step 1: Prepare the Mold
-
Select Your Originals: Choose objects with the exact finish you want, as the mold will duplicate every detail, including texture and shine.
-
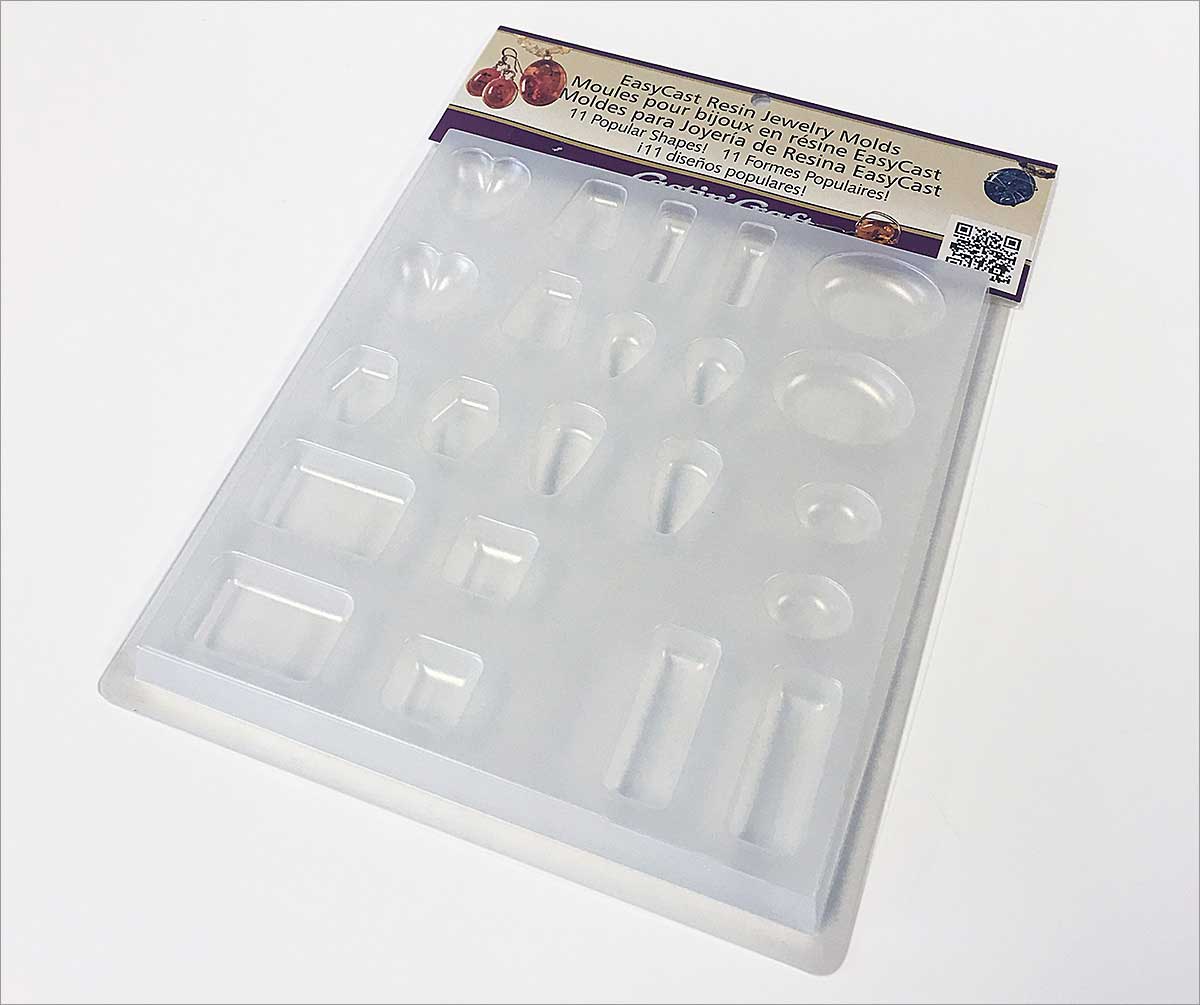
Determine Mold Size: Arrange your originals about 1/4 inch apart and either build a mold box (as shown in other TAP Plastics videos) or find a pre-existing container that closely matches the required dimensions.
-
Glue Down the Pieces: Use a small amount of hot glue to secure your originals inside the mold box. Ensure minimal glue squeeze-out to avoid affecting the final shape of your mold.
-
Mix and Pour Platinum Silicone: Follow the manufacturer’s instructions for mixing, then pour the silicone into the mold box.
-
Allow to Cure: Wait approximately two hours before carefully removing your new mold.
Step 2: Casting the Resin
Polyester resin generates heat during curing, which is crucial for achieving a strong, fully cured piece. However, small castings don’t generate much heat on their own, so follow these tips to ensure proper curing:
-
Preheat the Mold: Warm the mold slightly in a microwave until it’s warm (not hot) to the touch.
-
Measure and Catalyze the Resin: Use about 15 drops of catalyst per ounce of resin—this is more than what’s typically used for larger castings.
-
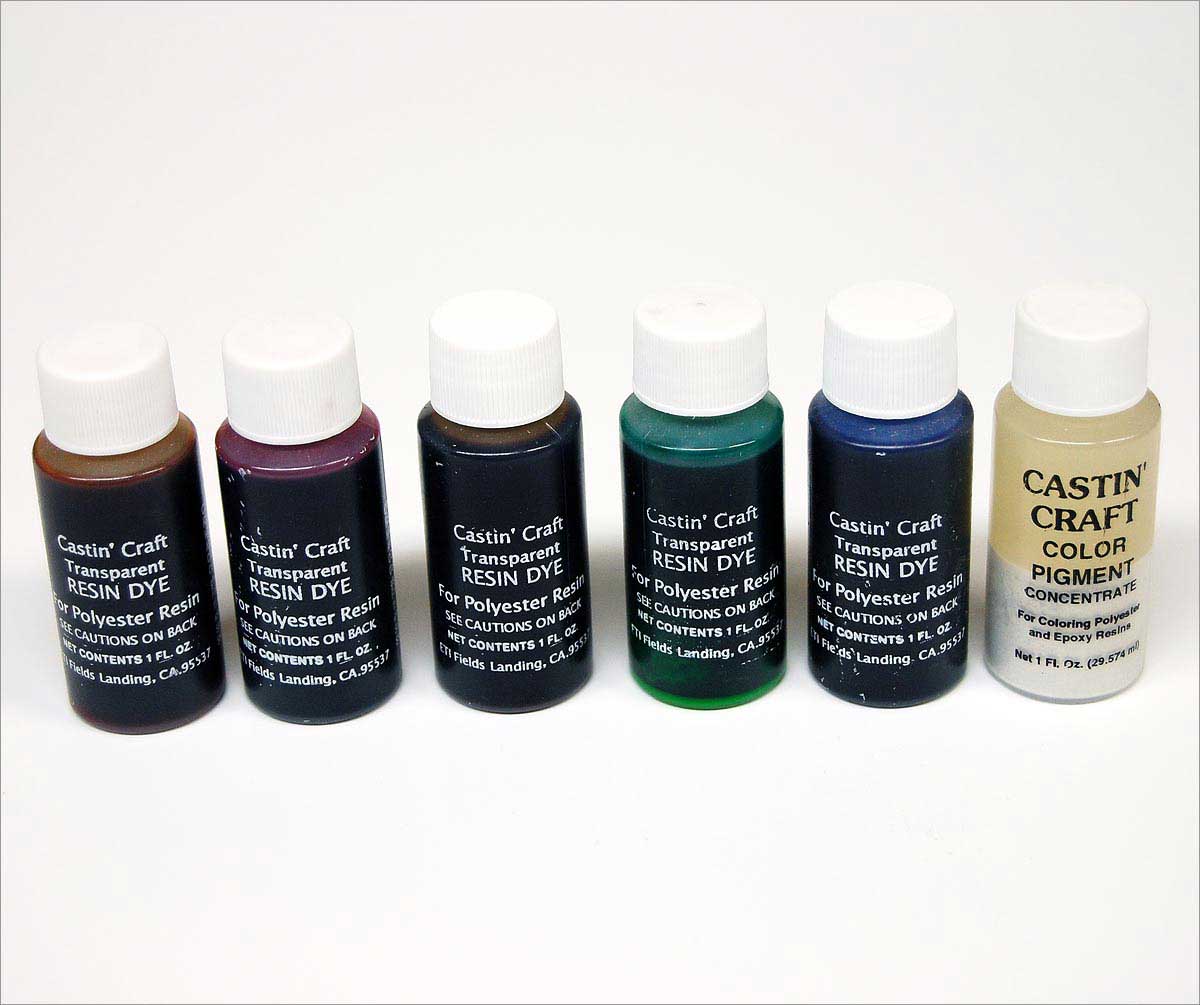
Add Color (Optional): If you want colored resin pieces, separate the catalyzed resin into multiple containers and mix in dye.
-
Pour the Resin: Carefully fill each mold cavity. The resin may form a convex surface, which can be an issue for finishing.
Step 3: Achieving a Smooth, Non-Tacky Back
To prevent the exposed surface from remaining tacky and needing post-cure polishing, use one of the following methods:
-
Use Mylar Film: Lay a 5-mil thick piece of mylar over the mold, ensuring no bubbles are trapped.
-
Apply Resin Craft Spray: If not using mylar, spray the backs of the pieces with resin craft spray once the resin has gelled to reduce tackiness.
Step 4: Curing and Removing the Castings
-
Allow Full Cure: Do not remove the pieces prematurely, even if they appear hard. Test by tapping the back; they should feel completely solid.
-
Peel Off Mylar: Once fully cured, remove the mylar and extract the resin pieces from the mold.
-
Trim Excess Resin: Use scissors or a craft knife to remove any overflow or rough edges.
Step 5: Customizing Your Resin Pieces
At this stage, you can enhance your resin pieces with creative backings and finishes:
-
Sparkle Film & Clear Glue: Attach sparkle film to the back for a dazzling effect.
-
Mirrored Mylar: Apply a reflective back for a shiny, high-end look.
-
Paint: Hand-paint designs or patterns for a unique touch.
-
Embedded Objects: Place small decorative items into the resin before it cures for an eye-catching effect.
-
Metal Powder: Add metal powder to the resin to create the look of solid metal castings.
Final Thoughts
With a little creativity, the possibilities for resin casting are endless. Whether you’re making jewelry, custom gems, or decorative pieces, TAP Plastics provides the materials and guidance to bring your ideas to life. Experiment with different techniques and discover stunning effects—because at TAP Plastics, the only limit is your imagination!


