How to Make a Simple Silicone Mold Part 2
How to Mix and Pour TAP Silicone RTV for Bubble-Free Molds
In the first part of this guide, we covered how to measure the correct ratio of silicone to hardener. Now, we will walk through the essential steps for mixing and pouring the silicone to ensure a high-quality, bubble-free mold.
Mixing the Silicone and Hardener
-
Add the Hardener to the Silicone
-
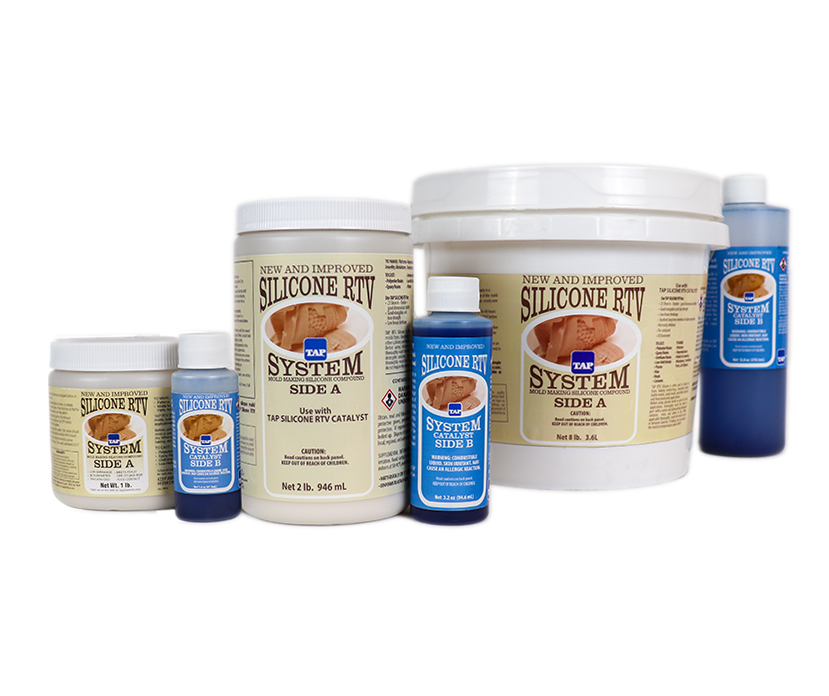
Ensure you use the correct 10:1 ratio by weight or 9:1 ratio by volume.
-
The hardener is dyed blue to help indicate when the mix is fully blended.
-
-
Thoroughly Mix the Components
-
Since the silicone is thick and the hardener is thin, it takes effort to mix them evenly.
-
Incomplete mixing results in uncured silicone, which is extremely difficult to remove from the mold.
-
-
Use the Two-Cup Mixing Method
-
After mixing in the first cup for about two minutes, pour the mixture into a second cup.
-
This ensures that any unmixed silicone stuck to the sides of the first cup gets incorporated.
-
Continue mixing in the second cup until you see no streaks.
-
Preventing Air Bubbles in the Mold
Air bubbles trapped in the mold can create defects in your final cast pieces. There are two main methods to remove them:
Method 1: Professional Vacuum Chamber
For frequent mold makers, investing in a vacuum chamber is highly recommended.
-
Prepare the Vacuum Chamber
-
Ensure the silicone container is at least four times larger than the silicone volume.
-
Place the mixed silicone in the chamber.
-
Secure the acrylic lid and close the valve.
-
-
Degassing Process
-
Turn on the vacuum pump.
-
As the vacuum increases, air bubbles expand and cause the silicone to foam.
-
After a couple of minutes, the foam will collapse.
-
Continue running the pump for an additional 6–7 minutes to remove excess air.
-
-
Final Steps
-
Turn off the pump and slowly open the valve.
-
The remaining bubbles will disappear.
-
The silicone is now ready to pour.
-
Method 2: Economical "Bombs Away" Method
This technique is useful for those without a vacuum chamber.
-
Prepare the Pouring Cup
-
Take a paper cup and cut a ½-inch diameter hole near the bottom.
-
Cover the hole with a piece of tape.
-
Pour the mixed silicone into the cup.
-
-
Set Up the Pouring Process
-
Place your mold on the floor beneath the edge of a table (at least 30 inches high).
-
Position the cup at the edge of the table.
-
-
Pouring the Silicone
-
Remove the tape from the hole.
-
Allow the silicone to flow in a thin stream into the mold.
-
Move the mold so that the silicone lands at the bottom, not directly on the part.
-
The falling silicone stretches, causing bubbles to pop before entering the mold.
-
Ensure there is no air movement, as even a small breeze can misdirect the stream.
-
Final Steps: Pouring and Curing
-
Always pour the silicone away from the master part to avoid trapping air.
-
Allow the silicone to cure completely (6–8 hours) before demolding.
By following these methods—either the vacuum chamber or the bombs away approach—you can achieve high-quality, bubble-free silicone molds for your casting projects.